- Published on
- Authors

- Name
- ric de yuga 😄
🧪 Squishy Fun: Making Homemade Slime 🧪
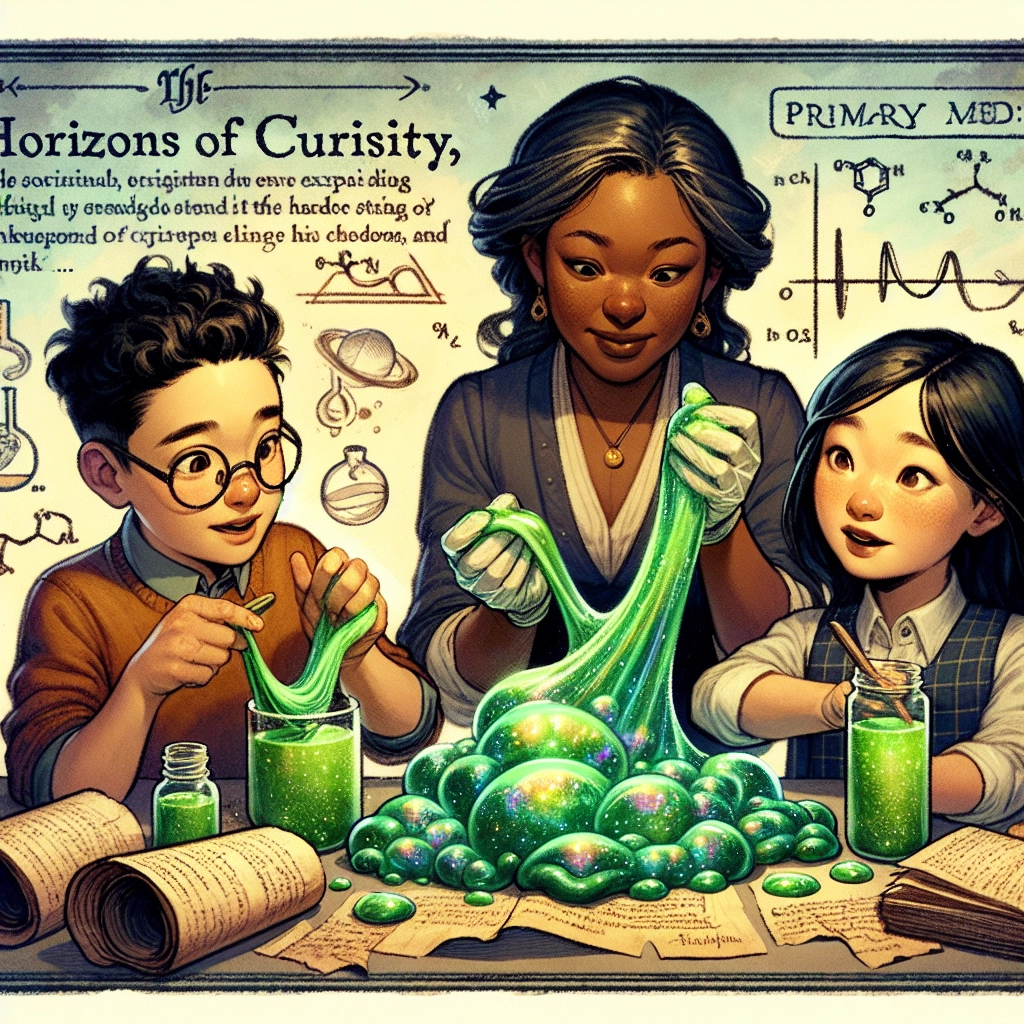
Making homemade slime is a fun and educational science experiment that allows kids to explore the fascinating properties of polymers. This hands-on activity is perfect for engaging kids in chemistry and sparking their curiosity about the science behind the materials.
🔬 The Science Behind Homemade Slime 🔬
Slime is a non-Newtonian fluid made from polymers, which are long chains of molecules. The main ingredients in slime, glue and a cross-linking agent (such as borax or contact lens solution), combine to form these polymer chains, giving slime its unique stretchy and squishy properties.
🌟 Key Concepts:
- Polymer: A large molecule composed of repeating subunits called monomers.
- Cross-Linking: A process where chemical bonds link one polymer chain to another, giving the material its elasticity and strength.
- Non-Newtonian Fluid: A fluid whose viscosity changes under stress or force.
🧪 Materials Needed 🧪
- White school glue (PVA glue)
- Baking soda
- Contact lens solution (containing boric acid)
- Food coloring (optional)
- A mixing bowl
- A spoon or mixing stick
📋 Detailed Steps to Make Homemade Slime 📋
Combine Glue and Baking Soda:
- Pour about 4 ounces of white school glue into a mixing bowl.
- Add 1/2 teaspoon of baking soda to the glue and mix well.
Add Color:
- If desired, add a few drops of food coloring to the glue mixture and stir until evenly distributed.
Activate the Slime:
- Add 1 tablespoon of contact lens solution to the mixture.
- Stir the mixture vigorously until it starts to come together and form slime. You may need to add a bit more contact lens solution if the slime is too sticky.
Knead the Slime:
- Once the slime has formed, remove it from the bowl and knead it with your hands until it reaches the desired consistency. It should be stretchy and not too sticky.
Play and Experiment:
- Enjoy playing with the slime! Stretch it, squish it, and observe its unique properties.
🎓 Teaching Kids About Homemade Slime 🎓
One-on-One Lesson:
- Introduction: Explain the basic concepts of polymers and cross-linking. Discuss how glue contains polymer chains and the contact lens solution acts as a cross-linking agent.
- Hands-On Activity: Let the child help measure and mix the ingredients. Guide them through the steps, ensuring they understand each part of the process.
- Discussion: Ask questions to encourage thinking, such as "Why do you think the slime is stretchy?" or "What happens if we add more baking soda or contact lens solution?"
Classroom Activity:
- Group Discussion: Start with a brief explanation of polymers and cross-linking. Show a video or perform a small-scale demonstration to capture interest.
- Group Experiment: Divide the class into small groups. Provide each group with the necessary materials to make their slime.
- Interactive Exploration: Allow the groups to perform the experiment and observe the properties of the slime. Encourage them to experiment with different amounts of ingredients to see how it affects the slime.
- Sharing Observations: Have each group present their findings and discuss any variations in their results. Talk about the science behind what they observed.
🏆 Best Practices for Performing the Experiment 🏆
One-on-One:
- Engagement: Keep the child engaged by allowing them to handle and mix the ingredients. Encourage them to ask questions and make predictions.
- Safety: Ensure the child understands not to ingest any of the materials. Supervise closely and provide safety goggles if available.
Classroom Setting:
- Preparation: Prepare all materials in advance and ensure each group has a designated area to work. Lay down protective coverings to manage spills.
- Supervision: Monitor the groups to ensure they handle the materials safely and follow instructions.
- Clean-Up: Have a plan for clean-up, as the slime can be sticky. Provide wipes or cloths for quick clean-ups and designate a disposal area for the used materials.
🌟 Conclusion 🌟
Making homemade slime is a fantastic way to introduce kids to the concepts of polymers and cross-linking. Whether you're working one-on-one or with a group, this experiment is sure to captivate and educate. It's a great opportunity to spark curiosity and excitement about chemistry while providing a memorable hands-on learning experience.
Stay tuned for our next fun science experiment!
